Starting a live sports streaming service can be tough. Imagine, it’s game day, and fans are eager to watch their favorite teams play. But if the stream is choppy or crashes, it can ruin the experience for everyone. That’s the challenge of launching a live sports streaming service.
This guide will help you create a sports streaming platform like ESPN+ using FastPix Video API. With FastPix, you can manage multiple games with instant replays, and ensure smooth, high-quality streams. Let’s get started.
Quick platform overview
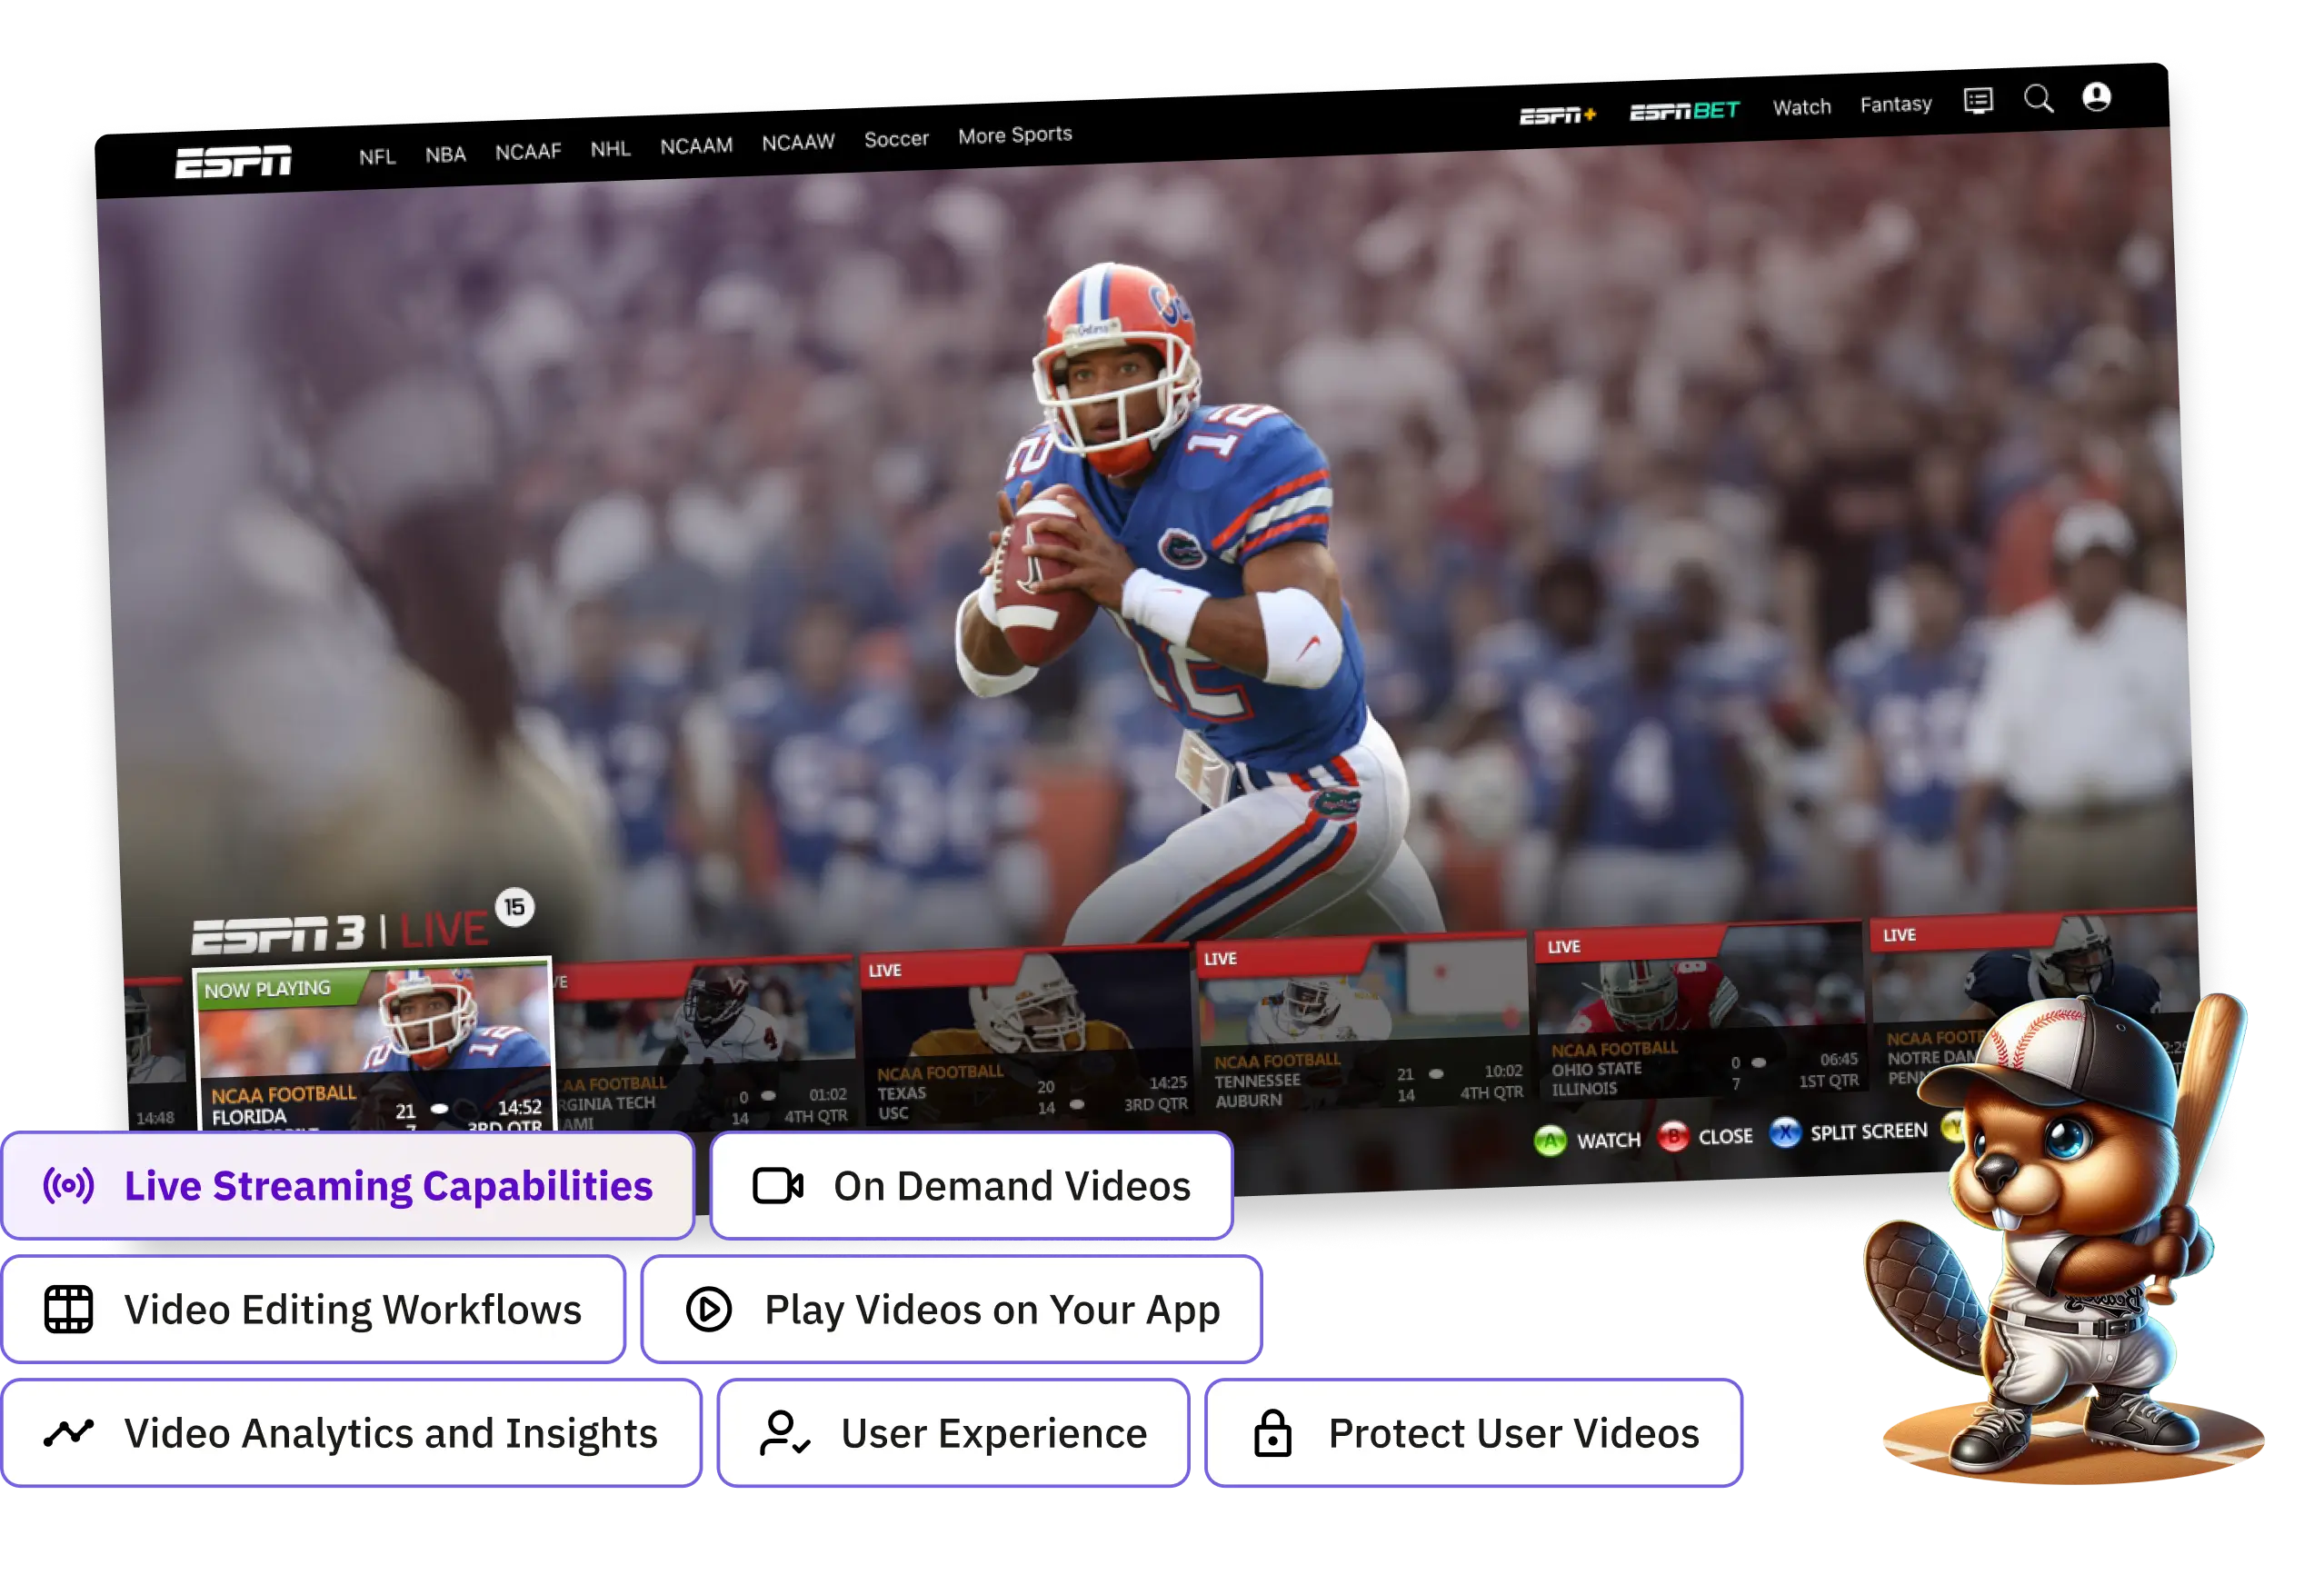
Here’s a look at what our platform will provide:
Getting started with FastPix APIs
First, we'll need FastPix APIs to handle video streaming in our app. You'll need a token key pair, an Access Token ID and a Secret Key. You can think of these as your app’s credentials for communicating with FastPix.
Check out this setup guide to get your tokens. These tokens will be used to authenticate API requests your app makes to FastPix. In the setup guide, you'll find instructions on how to manage access tokens, set permissions, and different authentication methods. Once that's sorted, you can start handling video streaming.
1. Live sports streaming for your audience
To start a live stream on your app, send a POST request to /streams endpoint with your access token, FastPix gives you two parameters, a Playback ID and Stream Key.
The response includes:
- Stream status (idle when no stream, active during broadcast, or disabled if streaming is unavailable)
- Stream key for your broadcasting software
- Creation timestamp for the stream
- Playback ID to access the stream
FastPix works with standard RTMP and SRT protocols, so you can use any compatible broadcasting software. For example, in OBS, just paste your stream key in the settings and you're ready to broadcast.
You can access the stream at this URL, which works with any HLS player: https://stream.fastpix.io/{PLAYBACK_ID}.m3u8
The stream ends when you disconnect your broadcasting software. The status switches to idle after a few minutes, or automatically ends after 12 hours. If you need to stream longer, just reach out to us.
Live streams in ESPN+
1.1 Live stream management with API calls
Managing streams in your app comes down to straightforward HTTP requests. If you need to start a new stream, see what’s live, or adjust settings, the API makes it super easy with simple endpoints.
You can check out our live streaming API docs for the full request/response details.
1.2 Recording and replaying live streams
Live streams are watchable in two ways:
You can set up DVR (Digital Video Recorder) mode to let viewers pause and rewind while the stream is live. Perfect when someone wants to rewatch a game highlight they missed. This feature lets viewers pause, rewind, and replay parts of a live stream while it’s still happening. For more details about DVR mode, check out the documentation here.
For longer streams like gaming sessions or events, automatic recording runs in the background. Once the stream ends, the full video appears on the creator's profile, ready for anyone who missed it live.
Each recording has a unique ID, so you can easily share or embed anywhere in your app. You can add these recordings to your main content feed to keep the conversation going after the stream ends.
You can adjust the enableRecording and mediaPolicy parameters for recording your live stream. The enableRecording parameter is a simple true or false option. If you set it to true, your livestream will be recorded and saved for later. If you set it to false, it won’t be recorded.
The mediaPolicy parameter lets you choose whether the recorded stream will be public or private when it’s available as Video on Demand (VOD).
Stream replays in ESPN+
1.3 Streaming pre-recorded videos as live
You can upload and schedule videos to stream them later as live broadcasts. This is handy when real-time streaming isn't practical, or when you need guaranteed smooth playback for important events.
The system plays your video at the scheduled time, keeping all live features active, viewers can still comment, react, and share just like a regular stream.
Setting up a scheduled broadcast takes just a few steps:
- Upload the video
- Pick a broadcast time
- Set streaming quality
- Choose between single play or loop mode
You can follow this guide to learn how to stream pre-recorded content as live.
Please note, this feature is somewhat different from cloud playout channels. To learn more about how cloud playout works read our blog. We have found a lot of scope and requirements for this feature across our customers. This made us think where the industry is heading to. And we’re on it. Cloud playout using FastPix is currently in Beta, and we’re excited to enable it for folks who have the use case pretty soon.
1.4 Tagging and categorizing streams for easy search
Adding tagging and categorization features helps users quickly find the content they’re looking for. You can implement a system that allows users to search for streams using key-value pairs, such as "key": "value." This approach improves searchability and can also be integrated into future API calls.
As the broadcaster or streamer, you can add tags like #football or #basketball when they start streaming, and select categories like "Live Events" or "Highlights" to group similar content. This makes it easier for everyone to discover and enjoy the videos that interest them.
For instance, ESPN+ shows a list for you to choose your favorite sports leagues. Once you choose few, the platform’s content recommendation system prioritizes streams and content from those tags. This is one example, similarly searching for content across the platform can also be enabled using metadata tagging.
1.5 Tracking real-time stream status with webhooks
To keep users updated on their live streams, you can use webhooks to track important events. For example, you can check when a live stream starts or when it disconnects.
Using the passthrough ID, you can connect these updates to the corresponding stream post. This way, users can easily see when their streams are live and ready to watch.
You can check out this guide for setting up webhooks: Webhooks for status.
1.6 Simulcast your stream to multiple platforms
You can simulcast your live video to multiple platforms like YouTube, Facebook Live, and Twitch using any RTMP server. FastPix currently supports these platforms for simulcasting.
To set up simulcasting, you can refer to the create a simulcast API endpoint. You can add simulcast targets when you create the live stream or afterward. Just make sure the live stream status is idle (not active) when you add the targets.
For the setup, you need the RTMP URL and the Stream Key from the platform you want to stream to. The RTMP URL is the address that tells your stream where to go, while the Stream Key is a unique identifier for your stream on that platform. You’ll combine these two to create the connection for your live broadcast.
curl -X POST 'https://v1.fastpix.io/live/streams/{streamId}/simulcast'
   --user {Access Token ID}:{Secret Key} \
   -H 'Content-Type: application/json' \
   -d '{
   "url": "rtmp://hyd01.contribute.live-video.net/app/",
   "streamKey": "live_1012464221_DuM8W004MoZYNxQEZ0czODgfHCFBhk",
   "metadata": {
      "livestream_name": "Tech-Connect Summit"
   }
}'
We also have a blog on simulcasting that you might find helpful: Simulcasting live video to multiple platforms.
If you want to know how to simulcast to YouTube, Twitch, and Facebook, check out this guide for an easy walkthrough. If you have specific platform requests or need more information, please feel free to reach out.
2. On-demand video content in your sports app
When it comes to your app, you might also want to make uploading on demand videos as smooth as possible. Sometimes, uploading high-quality videos can be tricky, especially with high-resolution game highlights, replays, and interviews, or if the internet connection isn’t great.
One way to make this easier is by breaking videos into smaller parts, and uploading videos in chunks. This way, you can upload your videos without worrying about losing their connection.
Here’s how ESPN+ showcases on-demand content
2.1 Video uploads made simple for streaming
Our uploads SDK can help you upload videos easily. It can handle large video files and takes care of the details to get videos from your storage to your platform.
When you upload videos, the SDK splits them into smaller parts. If the connection drops, the upload will pause and continue from where it stopped, so you won’t lose any progress.
You can install the SDK by executing this command:
1npm i @fastpix/uploader
After installation, you can bring the upload component into your application by executing the following command in your terminal:
const fileUploader = Uploader.init({
    endpoint: 'https://example.com/signed-url', // Replace with the signed URL.
    file: mediaFile, // Provide the media file you want to upload.
    chunkSize: 5120, // Specify the chunk size in kilobytes (KB). Minimum allowed chunk size is 5120KB (5MB).
    // Additional optional parameters can be specified here as needed
})
2.2 Prevent piracy for copyrighted content
Digital rights management (DRM) can help protect copyrighted material and reassure people that their work is secure. To control who can access your videos, you can change the accessPolicy parameter. Setting it to "drm" enables DRM, which helps prevent unauthorized use of your content.
If you prefer a simpler option, you can set the access policy to "private" to limit access without the added complexity of DRM.
Here’s how to set the access policy for DRM:
"accessPolicy": "drm"
And for private access:
"accessPolicy": "private"
You can choose between public, private, or drm based on what you need.
2.3 Enable video clipping for users
If you want to create clips from uploaded videos, follow these steps:
- Activate clipping:Add "fp_media://" to the media ID in the URL parameter of your payload to turn on the clipping feature.
- Set clip duration:Define the startTime and endTime for the clip. If you don’t include these parameters, the entire video will be used by default.
{
  "inputs": [
    {
      "type": "video",
      "url": "fp_media://0dde8722-278b-49e2-b0c8-52b57aaf2843",
      "startTime": 0,
      "endTime": 60
    }
  ],
  "metadata":
  {
    "key1": "value1"
  },
  "accessPolicy":"public",
  "maxResolution":"1080p"
}
2.4 Generating automatic or custom video thumbnails
Once the clip is created, the API will provide a new media ID and playback ID for the clipped segment. Your request body should look like this:
https://images.fastpix.io/{PLAYBACK_ID}/thumbnail.{png|jpg|webp}
We support PNG, JPG, and WEBP formats. WEBP usually works best, it loads fast while keeping the image sharp.
If you want to customize your thumbnails, you can adjust dimensions, flip images horizontally or vertically, and extract frames from specific timestamps. If you’d like to learn more about using these options, take a look at our guide on extracting thumbnails from videos.
3. Real-time sports highlight creation and editing
Video editing should be straightforward in your app, sports fans want to share key moments, like that game-winning shot or an amazing play. Our editing endpoints make it easy for users to do some cool stuff, like:
- Clip the best 30 seconds from a long game replay
- Combine multiple plays into highlight reels
Instead of bombarding users with complicated editing tools, these APIs do the hard work for you. Fans just click when a play starts and ends, and the backend handles everything else.
3.1 Creating stream highlights during live games
Grab quick clips while your stream is live, perfect for sharing highlights immediately. To create a clip, just add start and end times to your stream URL to slice out a specific moment:
https://stream.fastpix.io/<playbackId>.m3u8?start=10s&end=15s
This makes a 15-second clip starting at the 10-second mark. Here are a few things to keep in mind:
- Clips can be up to 30 seconds long.
- Use whole numbers for the timestamps (in seconds).
- The start time has to be less than the end time.
- Timestamps can’t go beyond the length of your current stream.
We also have a blog on live clipping with more insights and tips.
You can create highlight reels by merging clips using the create media by URL endpoint. Each clip you want to include needs to have its media file URL and instructions on where it should fit in the final video. You can either specify an exact timestamp for where to insert the clip (insertAt) or choose to add it at the end of the reel (insertAtEnd).
{
  "accessPolicy": "public",
  "inputs": [
    {
      "segments": [
        {
          "url": "https://storage.googleapis.com/gtv-videos-mp4",
          "insertAt": 2
        }
      ]
    }
  ]
}
4. Cross-platform video player with customizations
FastPix streams work with your favorite player, whether it’s FastPix player or other players like Shaka, HLS.js, ExoPlayer on Android, or AVPlayer on iOS. The FastPix Player has some great features, like adaptive bitrate streaming to match connection speeds, built-in analytics, and support for different formats across web, iOS, and Android.
You can easily install it via npm:
npm install @fastpix/player
Then, you can import the player component in your app:
import "fastpix-player";
4.1 Built in playback controls for streams
The FastPix Video Player takes the usual video controls like play, pause, volume, and fullscreen and adds some customizable options. You’ll find keyboard controls for easy navigation, support for closed captions, and it’s compatible with screen readers, all while keeping a consistent look across platforms.
You can check out the player API docs to see how to set up these features.
Video playback in ESPN+
4.2 Embedding streams and videos on other websites
Live streams and on-demand videos handle embedding differently. Here's what you need to know. For on-demand videos, if you want to add your videos to a website, blog, or CMS, you can take the iframe embed code for your media. This code lets you place the video player right onto the webpage, and you can customize playback options like autoplay, muted sound, or looping.
For live streams, you need to create a playback URL using your stream’s playback ID, and make sure it’s set to public.
For RTMPS streams, you can use this URL:
https://stream.fastpix.io/{playbackId}.m3u8
If you are working with SRT streams, it’ll look like this:
srt://live.fastpix.io:778?streamid={playbackId}&passphrase={srtSecret}
Just pass these URLs to your video player of choice, and you’re all set to handle the stream playback.
4.3 Handling live stream disconnections
Networks can be unpredictable. Your live streams might get disconnected because of network issues or glitches in the streaming software. Let's look at how FastPix helps you handle connection drops during broadcasts.
When a stream drops, FastPix doesn’t cut it off right away. The system actually waits for a reconnection attempt, this way, it can handle those network hiccups without interrupting your stream. This is called the reconnection window, which is set to one minute by default, and you can set a value up to thirty minutes.
Here’s how the event flow works:
When the stream starts, you’ll see a connection established with the event: video.live_stream.connected. Then, as media starts streaming, you’ll get the events: video.live_stream.recording, followed by video.live_stream.active.
If the stream gets disconnected, FastPix will send out the event: video.live_stream.disconnected. It will wait for a reconnection attempt during that time. If it reconnects, the stream will continue as normal. But if it doesn’t reconnect, the stream will end, and you’ll see the events: video.live_stream.idle and video.asset.created.
You can also show a backup image during disconnections. You can follow this guide if you want more info on how to set up the reconnect window: Live stream disconnects.
5. Sports content performance measurement and analysis
Understanding how your videos are doing is key for any sports streaming platform, but analytics can often feel overwhelming. FastPix Video Data simplifies this by breaking down performance into over 50 categories, like device type, location, playback method, and time intervals.
With the FastPix Data SDK, you can easily track these important metrics. It works with players like Shaka Player, HLS.js, Exo Player for Android, AV Player for iOS, and of course, FastPix Player. If you need a hand getting started with Shaka Player, check out our guide: Monitor Shaka Player.
5.1 Tracking performance metrics for sports streaming
FastPix helps you focus on what really counts in your sports videos, not just the surface numbers. For instance, tracking video playtime shows how long fans are sticking around, giving you a sense of which plays or highlights keep them engaged and where they might lose interest. If a game recap keeps viewers watching until the end while others don’t, that’s solid feedback for your future streams.
With FastPix Data, you get a clear picture of your audience reach through unique views. Instead of inflated numbers from repeat viewers, you’ll know exactly how many different fans are tuning in to your content.
FastPix makes it easy to understand these metrics. If you see that fans from certain areas are watching your streams all the way through while others drop off early, you can adjust your content strategy to connect better with your audience.
For more details, check out our guide on audience metrics.
5.2 Measuring viewer engagement for sports streaming
To evaluate video performance, look beyond just view counts, as those numbers only tell part of the story. Here are some key metrics to consider:
- Total views: This shows how many times your video has been watched.
- Watch time:This measures how long viewers spend watching your video. More watch time means your content is engaging.
- Unique views: This counts how many individual viewers watched your video, helping you understand your audience size.
For sports streaming, video playing timeis important too. A high playing time indicates that your audience isn’t just clicking on your videos; they’re genuinely invested in watching them.
5.3 Measuring video playback and user experience in sports streaming
Quality of Experience (QoE) metrics help you see how your videos are doing from the viewer's point of view. These metrics focus on the overall experience users have while watching your content. Here are some key QoE metrics to keep in mind:
- Playback success: This shows how often your videos play without any problems. A higher percentage is better.
- Startup time: This measures how fast your video starts after someone clicks play. A faster startup time is always nicer.
- Smoothness:This looks at how consistently your video plays. You want it to run smoothly without buffering or interruptions.
- Video quality:This checks how clear and sharp your video looks while playing.
6. Creating a great user experience for your viewers
A good user experience really helps with viewer retention, especially for live sports streaming. It’s nice when navigation is simple, so fans can easily find live games, highlights, or replays.
Smooth playback, minimal buffering, and quick loading times are important for live events where every second counts. Personalization matters too, features like saved preferences, custom notifications, and easy access to favorite teams can make the app feel more personal for each user.
6.1 Downloading archived sports streams in MP4 format
FastPix makes it simple to save your sports streams in clear 1080p MP4 format. If you want to remix the latest game highlights or share a tutorial on other platforms, you can download the original high-quality version with just one tap.
Our MP4 downloads keep the video quality intact, which is great if you’re looking to edit your content or compile highlight reels from past games. FastPix takes care of all the format conversion, so you can have the video ready to go.
For step-by-step instructions on how to enable MP4 downloads, check out our guide here: MP4 support for offline viewing.
6.2 Smart recommendation for sports content
If you want to set up a recommendation system for your sports streaming platform, start by organizing your video metadata, like tags, titles, and descriptions. You can use keywords from this info to find similar videos.
User behaviour, like what type of content they watch, like, share, can help fine-tune the suggestions. It’s nice to strike a balance between showing similar videos based on tags and connecting users with content they’re likely to enjoy based on what they’ve watched before. Keeping it simple with categories like “Suggested for You” or “Trending” can really help keep viewers engaged.
7. The bottom line
FastPix provides a reliable video infrastructure that makes it easy for developer teams to add video to their products worldwide. With FastPix, you can meet your customers' needs without complicating things for your team.
Here’s what you get with FastPix:
- User-friendly:Adding video can be tricky, but FastPix makes it simple.
- Customizable:You can control the video experience by embedding the features you need right into your products. This way, you can build in-house video applications without sending users to other platforms like YouTube.
- Insightful:Get detailed engagement metrics with FastPix Data to see how your content is doing.
- Compatible:Easily integrate with the tools you already use.
If you're interested in more tutorials like this one for videos sharing platforms such as YouTube and TikTok, or e-learning on Udemy, take a look at these guides: YouTube tutorial, TikTok tutorial, Udemy tutorial.
Thinking about adding video to your product? You can get started today. We’d love to hear what you think about our features, so feel free to reach out and share your thoughts!