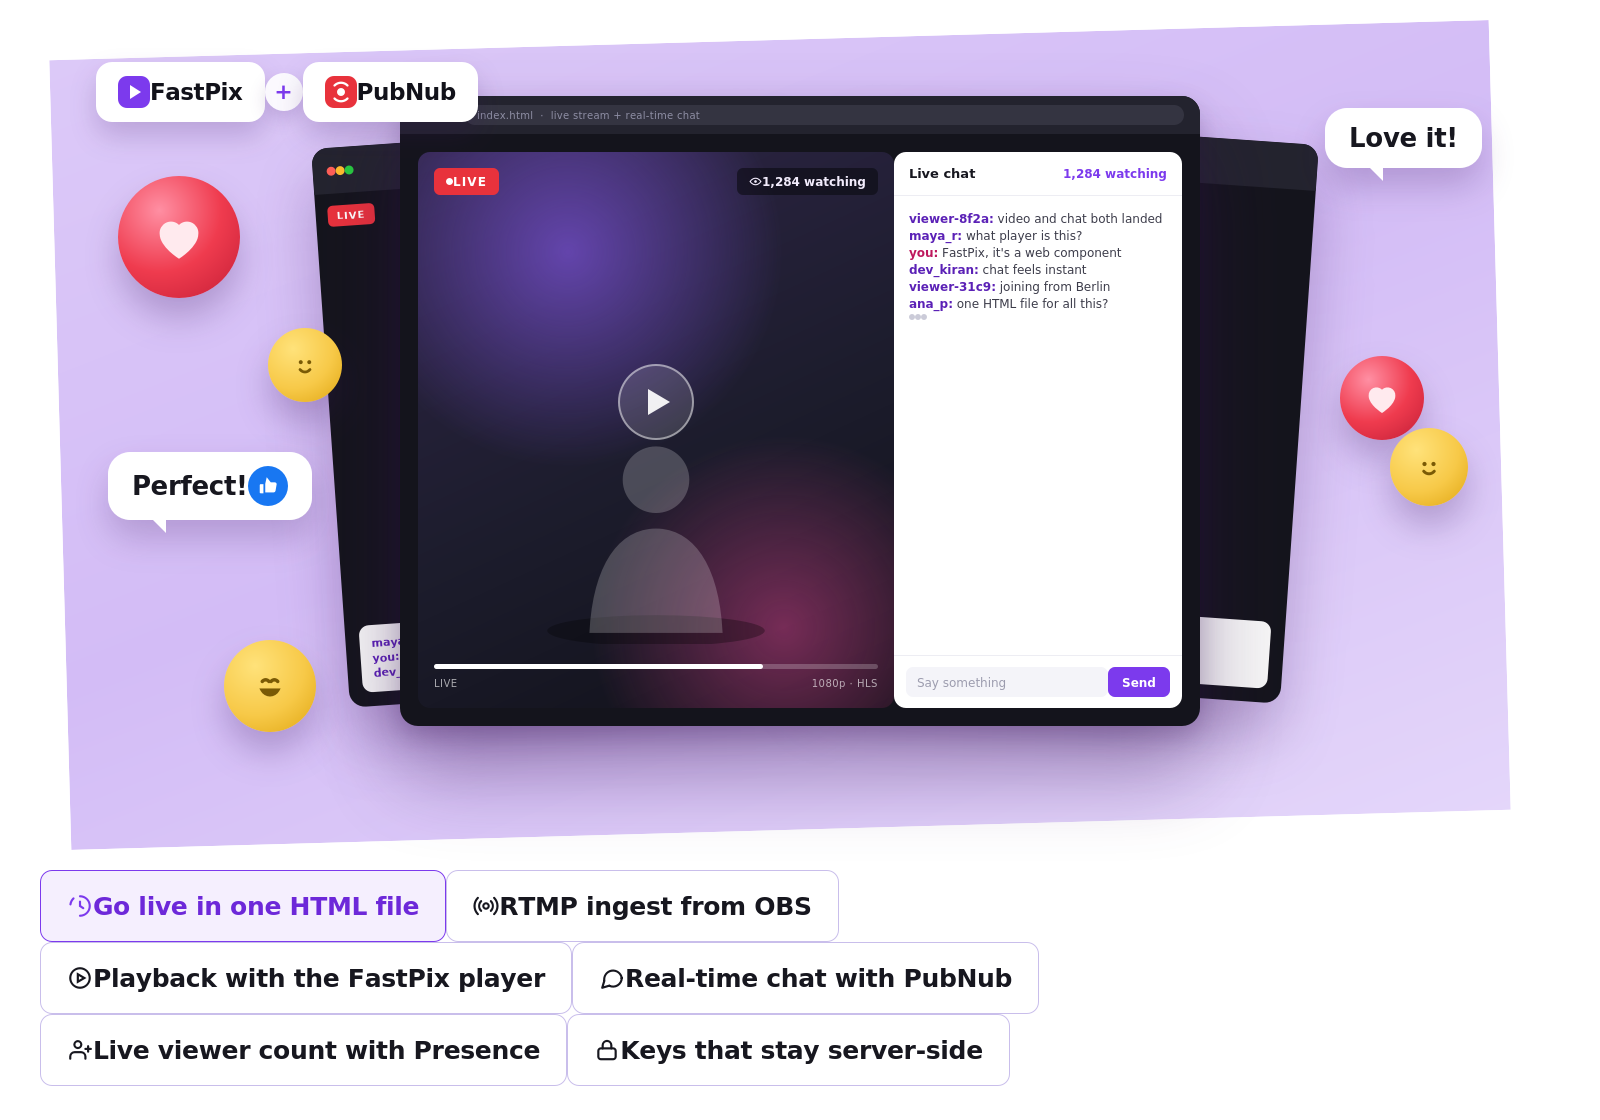
A livestream with live chat looks simple: live video, a chat panel, a viewer count. Building it from scratch is anything but. You'd need a media server, transcoding, global delivery, and a messaging backend that can push one chat message to thousands of viewers at once.
The good news is that you don't have to build any of it. FastPix handles the video side, PubNub handles the chat side, and one HTML file is enough to hold both. That file is what we'll build in this guide, one piece at a time.
To follow along, you'll need:
- A FastPix account, which takes in your broadcast and turns it into a video URL any browser can play
- A PubNub account, which moves chat messages between viewers in real time
- OBS Studio, the free streaming software we'll broadcast with
- About 30 minutes
The plan: create a stream in FastPix, get the video playing in the browser, add PubNub chat next to it, then go live from OBS and watch messages fly between two browser windows.
Setting up the stream in FastPix
Sign in at fastpix.com and create a live stream from the dashboard. A stream in FastPix is a persistent thing: you make it once, and it's yours to broadcast to whenever you like.
The new stream comes with three values, and it's worth being clear about which is which:
- The Stream Key is what OBS will use to broadcast. Treat it like a password. Anyone who has it can broadcast as you.
- The RTMP Ingest URL is where broadcasts get pushed: rtmps://live.fastpix.io:443/live. It's the same for everyone; the Stream Key is what identifies \your\ stream.
- The Playback ID builds the public URL viewers watch. This one is safe to put in frontend code, and it's the only FastPix value our code will contain.
Copy the Stream Key and the Playback ID somewhere handy.
One more thing worth knowing, even though we won't use it today: streams can also be created from your backend through the FastPix API, authenticated with an API token from Settings > Access Tokens. That's the route for products that spin up streams on demand. The token's Secret Key belongs on a server and nowhere else; the API reference on fastpix.com covers the details.
Getting the video playing
Create an empty file called index.html. We'll start with nothing but the player:
<!DOCTYPE html>
<html lang="en">
<head>
<meta charset="utf-8" />
<meta name="viewport" content="width=device-width, initial-scale=1" />
<title>Live stream test</title>
<style>
body { margin: 0; background: #111; }
fastpix-player { width: 100%; height: 100vh; }
</style>
</head>
<body>
<fastpix-player
playback-id="<YOUR-PLAYBACK-ID>"
stream-type="live-stream"
muted
autoplay
></fastpix-player>
<script src="https://cdn.jsdelivr.net/npm/@fastpix/fp-player@1/dist/player.js"></script>
</body>
</html>
Swap in your Playback ID, then open the file in a browser.
A quick tour. @fastpix/fp-player is FastPix's own player, and it's a web component: load its script once and you can drop a <fastpix-player> element into HTML like any other tag. You hand it a playback-id instead of a full URL, and it handles buffering and quality switching for you. stream-type="live-stream" tells it this is a live feed, and muted is what lets autoplay work, since browsers block autoplaying sound. Viewers unmute with the player's own controls.
You'll see a black player and no video, because you're not live yet. We'll fix that at the end.
Adding the chat
The video is handled. Now for the chat, which is PubNub's job. Before writing any code, you need an account and two keys. Here's exactly what to do, following the buttons in the PubNub console:
- Sign up and open the console. Go to pubnub.com, create a free account, and open the admin console.
- Create an app. Click Apps & Keysets in the sidebar, then the Create App button. Give it any name and confirm.
- Create a keyset. PubNub opens a Create keyset dialog. Enter a Keyset name, pick an Environment, Testing is fine while you build (it's for development and may be rate-limited); choose Production for a live app, then click Next.
- Copy your two keys. Open the new keyset. Near the top you'll see:
<!-- end list -->
- > Publish key (pub-c-...), lets your page send messages
- > Subscribe key (sub-c-...), lets your page receive
> messages
Copy both; you'll paste them into your code shortly. There's also a Secret key, ignore it. Browser chat doesn't need it, and it must never appear in frontend code.
- Turn on Presence. Scroll to the keyset's Configuration
section and make sure Presence is enabled. Presence is how PubNub knows who's connected, and it's the only thing that powers the live viewer count. No Presence, no count.
That's all the setup. Keep the two keys handy, we'll paste them in during the next step.
Now we'll build the chat in your index.html, one small piece at a time. Add them in order.
Piece 1: The markup
First, the chat panel itself. Add this to the <body>, right after the
<aside id="chat">
<header>Live chat · 0 watching</header>
<ul id="messages"></ul>
<form id="composer">
<input id="message-input" autocomplete="off" placeholder="Say something" />
<button>Send</button>
</form>
</aside>This is just the chat box. It has three parts: a header with the viewer count, an empty list where messages will show up, and a form to type in. It won't do anything yet, the next three pieces wire it up.
Piece 2: Connecting to PubNub
First, load PubNub's SDK. It comes from PubNub's CDN, and the filename includes a version number, so copy the current <script> URL from the PubNub JavaScript SDK docs instead of the placeholder below. Then open your own <script> and create the client , this is where your two keys go:
<script src="https://cdn.pubnub.com/sdk/javascript/pubnub.<version>.min.js"></script>
<script>
const CHANNEL = "livestream";
const pubnub = new PubNub({
publishKey: "<YOUR-PUBLISH-KEY>",
subscribeKey: "<YOUR-SUBSCRIBE-KEY>",
userId: "viewer-" + crypto.randomUUID().slice(0, 8),
});
const list = document.getElementById("messages");
const count = document.getElementById("viewer-count");
</script>
This connects your page to PubNub using the two keys you copied. A channel is just a chat room, everyone who joins the "livestream" channel sees the same messages. The user ID is a name that goes out with each message; here it's random for each visitor, but in a real app you'd use the person's real account name. The last two lines just grab the header count and the message list so the next pieces can update them.
Piece 3: Listening for messages and viewers
Everything coming from PubNub arrives here. Add this inside the same